

The front end VNET is created alongside a subnet, the subnet is where my resources will be deployed to.
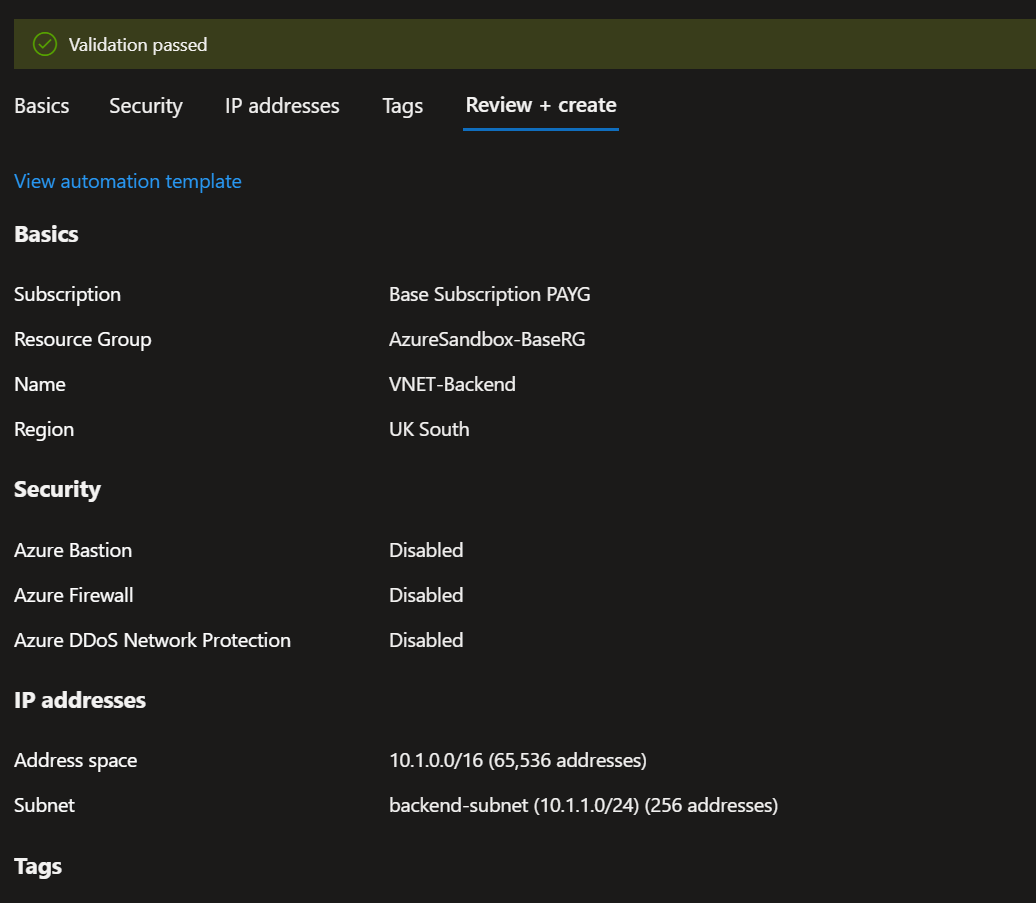
I created the Backend VNET/Subnet, you can see that the IP ranges are different which is important, it’s best to never let IP ranges clash with each other especially when working in large scale environments.
The next step when both VNETs was created was to peer them together so they had bi directional relationships.


Note that the Peering state shows as “Connected” This shows you that the peer has worked.
I created the first front end VM1, I used a BS2 VM as I found the BS1 VMs wasn’t great for GUI especially in the windows servers. I used the Windows 2022 server OS. I connected the Front End Subnet to the VM and created a Network Security Group. (NSG) The NSG will be needed to filter different types of network traffic.

Now the VM is created I needed to create a Public IP resource that would be connected to the Network Interface Card (NIC) This is needed so I can remote onto the VM and install the IIS feature in the server manager. IIS will be the service used on the VM to display a webpage over the internet. I need a public IP as without it the VNET and VM will stay private to the azure network and outside devices cannot remote into it unless I use Bastion on the GUI of azure.
So I created the following on the NIC card in the IPConfig

An Public IP is then assigned to the VM
Since I need to “Connect” to the server I need to change the Network Security Rules (NSG) By default on the VM creation you can select the ports you want to allow but I skipped this so I could do it myself on the NSG. I created an inbound rule on the NSG that allowed Port 3389 which is used for RDP.

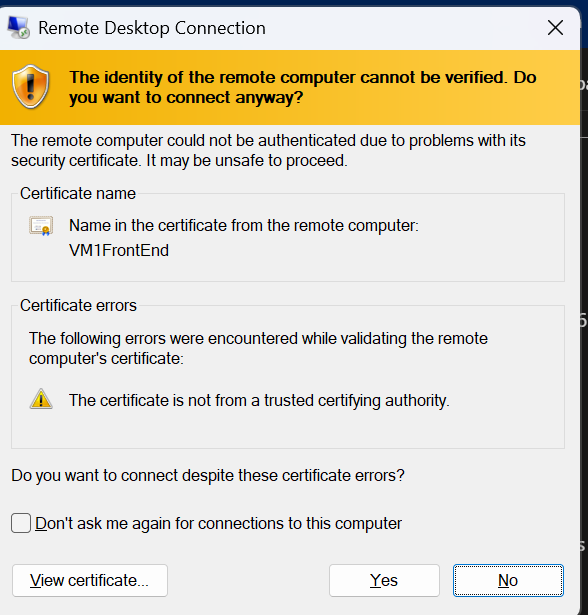
With this rule in place it will allow my to RDP from the Azure GUI into the VM, If I had added a “Source” and added my IP from my personal device it would of allowed me to RDP from my PC into the server, but for this test I didn’t do that.
With the follow steps completed I could now connect into the VM where I could install the IIS service. Without the NSG rule in place allowing Port 3389 or without a public IP I’d be unable to connect to the resource.

When I was in the server I added the IIS service using server manager which launches on boot. I also changed the default HTML page to my own. Note inside server manager you may need to wait until the server is done preparing. You can also add IIS by going to Manage and adding a new role. The IIS role will be in a list.


You will find that when IIS is installed you can edit the files from the C Drive inside a folder called inetpub/wwwroot
You can then change the default webpage that is deployed with IIS to whatever you want. In this case I’ve made a HTML file that will show a webpage telling the end client what VM they are using. In a production environment this could instead be a marketing website or a store front where customers can buy something.
When all this was done and I had tested the webpage worked by searching http://localhost – I went back into the Azure GUI and turned off the VM, I no longer have a reason to keep it running and this way I’ll save up time costs.
After I was done setting up VM1 I detected the Public IP address from it so I could repeat the steps and create VM2, I did this manually inside the Azure GUI for practise but there are other ways to do this, I could have used an ARM/Bicep template to deploy instead of doing everything again.
For this test I did it manually via Azure GUI, on deployment I did not make another NSG – since both VMs are identical I decided to use the same NSG and just attach it to the NIC card.
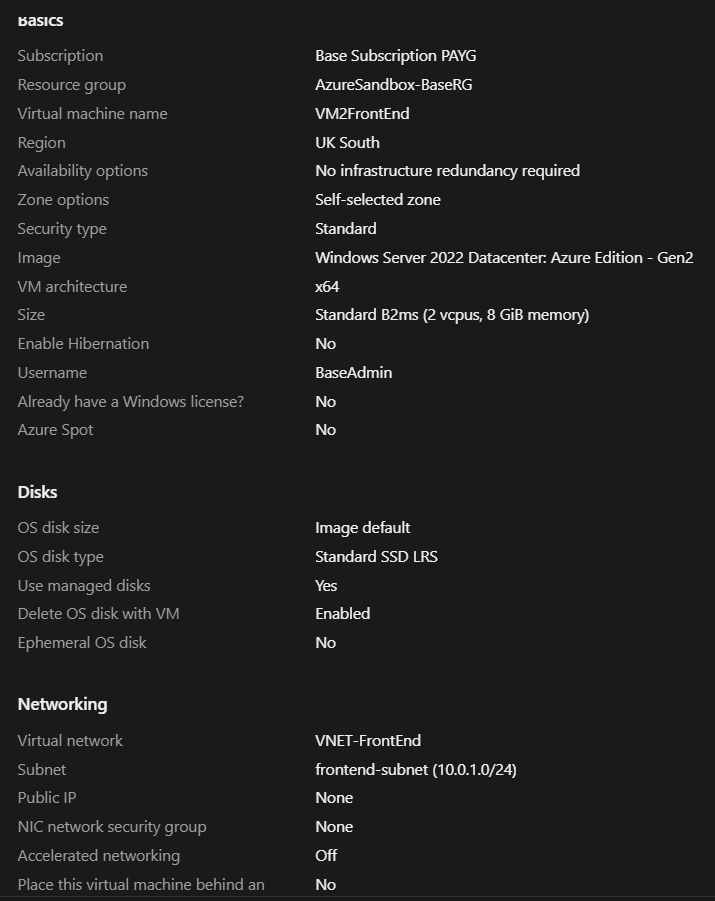
After deploying the Second VM I then repeated all the other steps so I had two identical VMs
– Adding the Public IP to the VM2
– Remoting into the VM as I did not need to create more NSG rules since I’m using a pre existing resource
– Installed IIS from the server manager
– Changing the default HTML page to my own – changing the text to VM2 instead of VM1.
For the backend VM nothing really needed to be prepared. I made the VM like the front end except it had it’s own NSG as it would not share the public Front end VM rules. It also had a separate admin sign on name just for identification purposes.

The only other thing I did was enable the RDP port so that if I wanted I could remote into VM1/VM2 with the public facing IP and then jumpbox into the backend VM. This type of example is common in production environments. This way the backend stays private and never needs a public IP which would expose the VM.

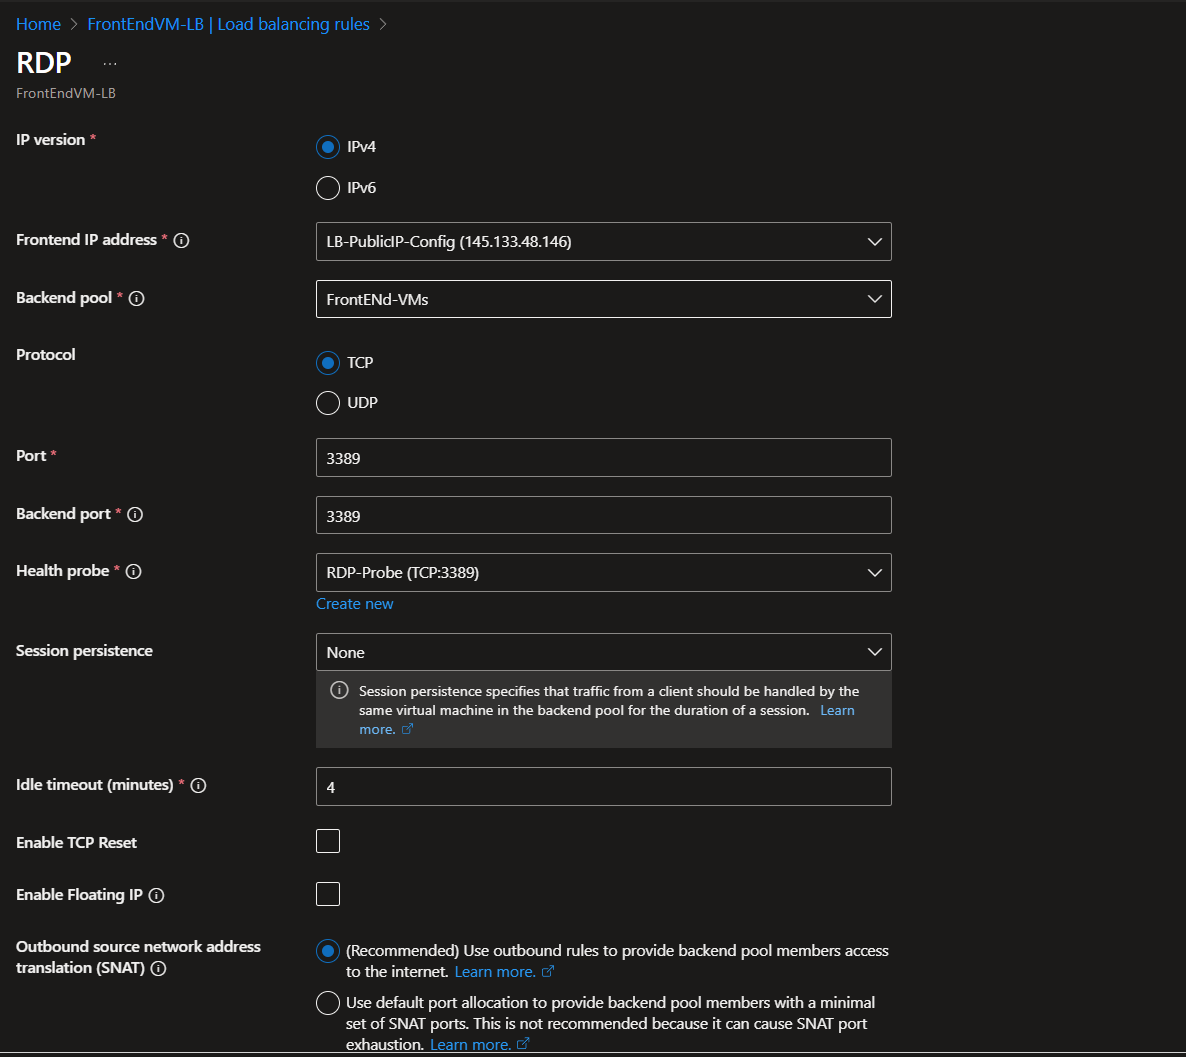
I searched for the Load balancer and went with a Standard Load Balancer


I set up the LB and used a new public IP which would be used to distribute traffic between the front end VMs.
Since the LB will be managing public IP traffic I needed to make a Health Probe so the LB understood it would need to allow port 80 which if for HTTP.

I later also edited the rule so the path went to the HTML page instead of the root folder. The name of the path is the HTML file name, I called mine Index.
![]()
As an additional step I made a Health Probe to allow the LB to let me RDP into either front end server. I only did this for testing. Best practise would be to separate the two VMs using NAT.
Using this approach would make you randomly remote into either VM behind the LB. Meaning the server you get is random. I only did this to make sure I could still jumpbox into VM3 – Backend Server/
Now the LB is set up the VMs for the front end are now sitting behind it. So traffic should be distributed between the two VMs using the public IP the LB will assign. The VMs should now have the LB assigned in the VM settings.


I was able to search the IP using my personal device. My computer would search for the public IP assigned by the LB. The LB then communicates this to the VM NSG. The VM NSG would need to allow traffic coming from Port 80 and then you should be able to search the webpages.
At this point I deleted my public IP I used for testing as I no longer need it since I have the LB public IP.
You can see from the illustration that on one side you can see the LB is launched VM1, in another tab I went incognito and got VM2 instead as VM1 had more traffic in that moment.
I also tested to see if my RDP rule worked and was able to RDP into the server and still able to jumpbox into the backend.


When everything was working I then decided to export the arm template and then delete all my resources. Downloading the template allows me to revisit this if I ever want to create it again and make further changes. I saved the template and the paramaters. Microsoft best practise is to delete any resources you no longer need to stop any costs being charged.
