The Aim here is to add a virtual client machine to a domain. This domain will be a server that we wish to connect into.
Outcome
By the end you’ll see how to connect a Client VM to a Domain Controller Server.
In my lab I wanted to add a Client PC to my Domain Controller, why? Because I wanted to allow for localised admin work to be done on the computer. I wanted to be able to add the computer to my domain and add permissions to it as this can be handy for later work like my mapped drive idea. So what did I do to achieve this?
I firstly needed to make another Virtual Machine in VMWare – This virtual machine would run off a Windows 10 Operating system, this is just something I’m more comfortable with I would need to connect the Virtual machine to my physical network which would be a basic home broadband. The DC and client machine need to be using the same network to be able to communicate with each other.
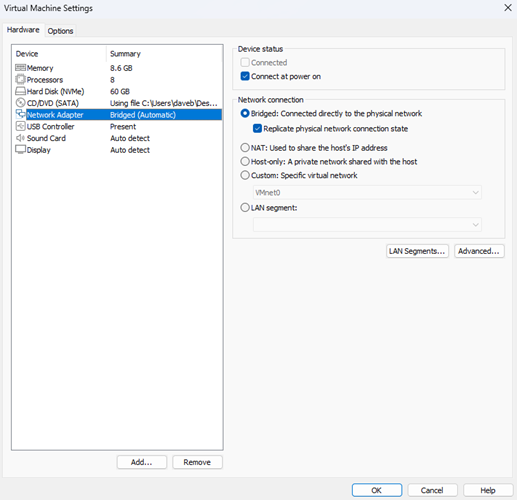
So I made a VM and then booted it up. The first thing I needed to do was make sure I was using a bridged connection. I did this for both my DC and client machine.
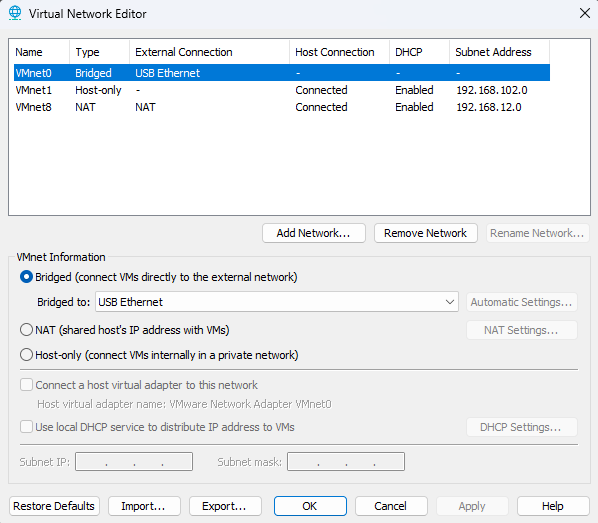
I also made sure I edited the Virtual Network Editor inside VMWare so that it picked up the bridged connection as a USB Ethernet. This is preference to me since I was using a LAN cable at the time. Without this step I found that neither of my VMs connected to the network.
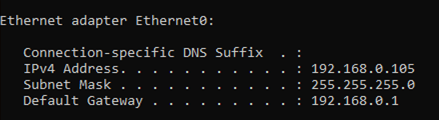
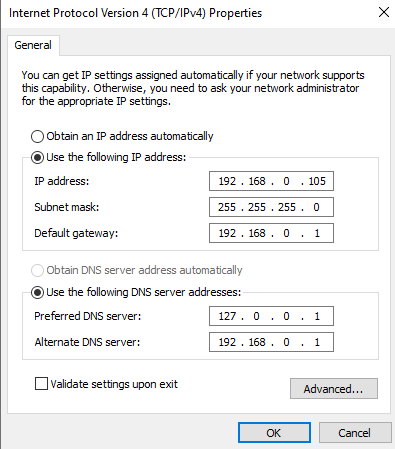
After this I then needed to do 1 simple thing. I needed to change the TCP settings inside Network settings for both machines. This TCP would be for IPV4. Before I did this, I needed a few bits of information. I needed DCs IP address, the Subnet Mask and Default Gateway So I used an ipconfig /all cmdlet to achieve this.
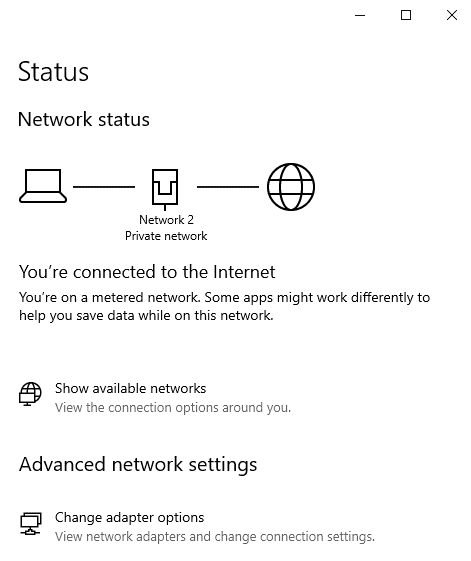
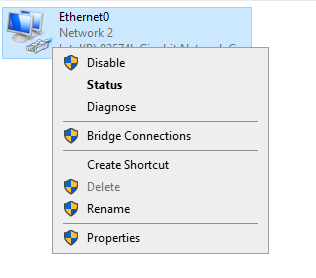
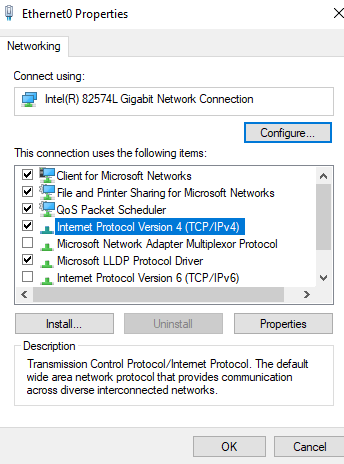
After I got this information, I then went the Network and Internet settings inside my domain controller, clicked on Change adapter options and then went to properties on my ethernet connection. I found TCP/IPV4 Settings.
Running ipconfig/all to get network settings
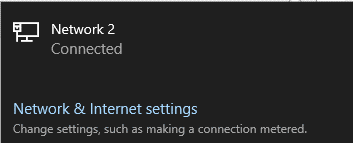
Going To Network & Internet Settings
Changing the Adapater Options
Going to Properties Of My LAN Connection
Finding My IPV4 Settings
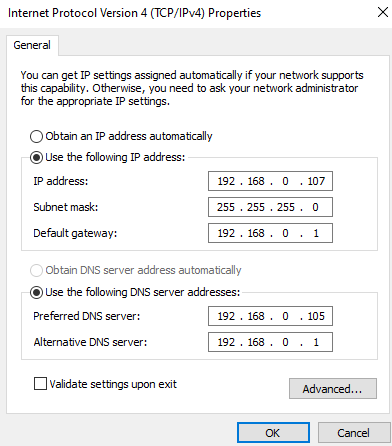
Changing My IP Settings
Inside my Client machine I followed the same steps as above. The difference here is client side I’m pointing to my domain controller whereas on my domain controller settings I’m using 127.0.0.1 which is just a way of referring to self. Now with this done I should be able to connect to the domain by going to View Advance System Settings, go to Computer name and press change. I entered my domain and it was able to find the domain controller and connect to it.
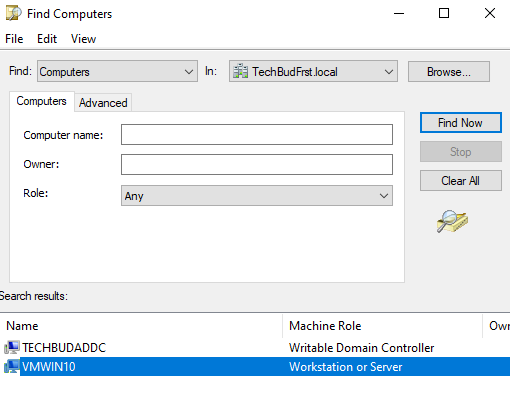
Once you’ve connected to the domain from your client side device it should appear inside your Active Directory Forest, you can now manage the device and assign groups to it etc.
Once you can see your device name the pesto! you can now add devices to a domain and simple manage them like an ICT Admin would.