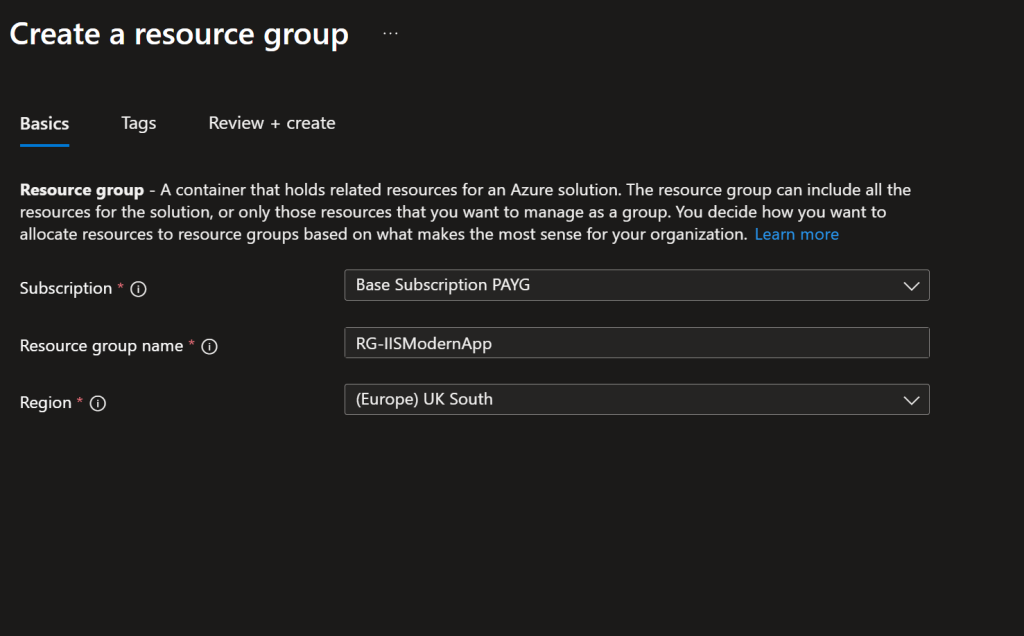
In the Azure Portal I searched for the App Service Plan where I created the resource.
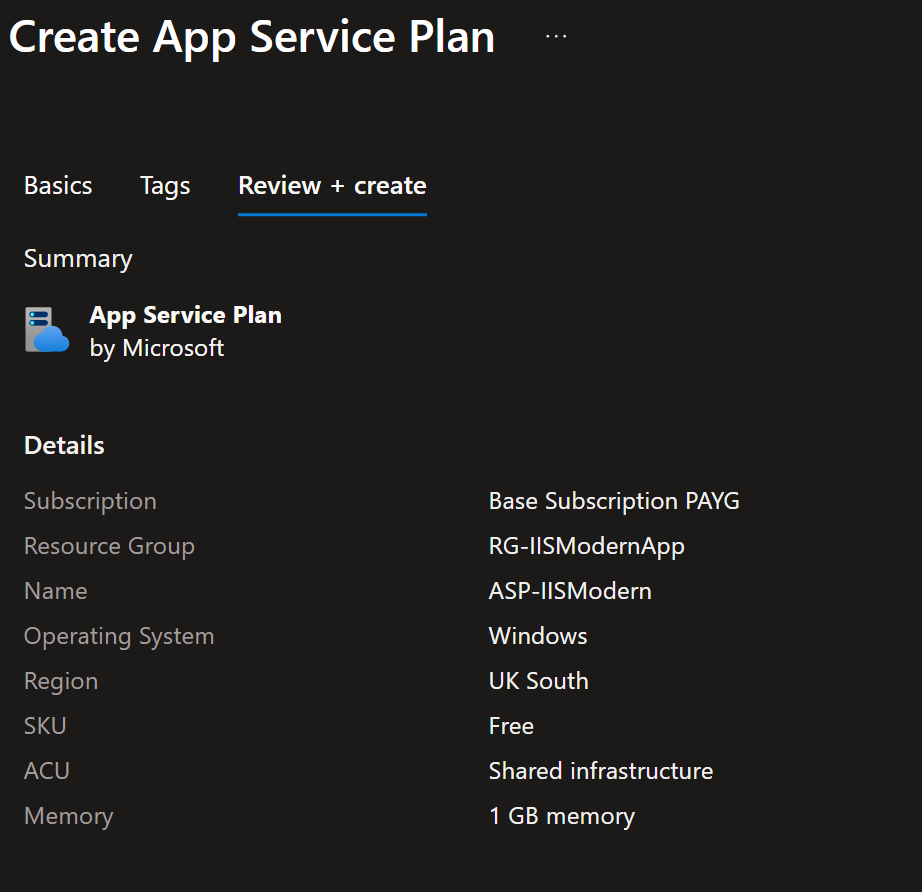
The App Service plan is a requirement for Web App deployment, without it you cannot deploy a web app.
Again on the Azure portal I searched for the Azure Services and then pressed Create to make a Web App:
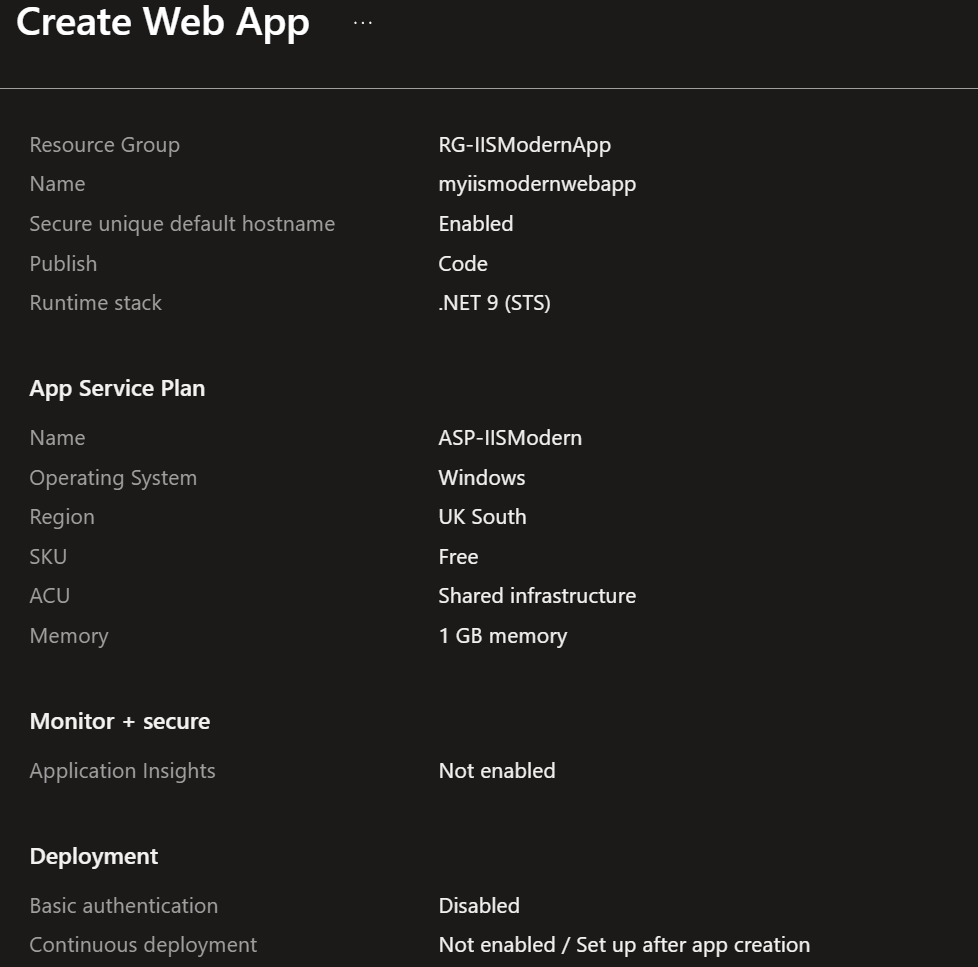
You can see from the image that I needed to attach my App Service Plan so I could deploy this resource.
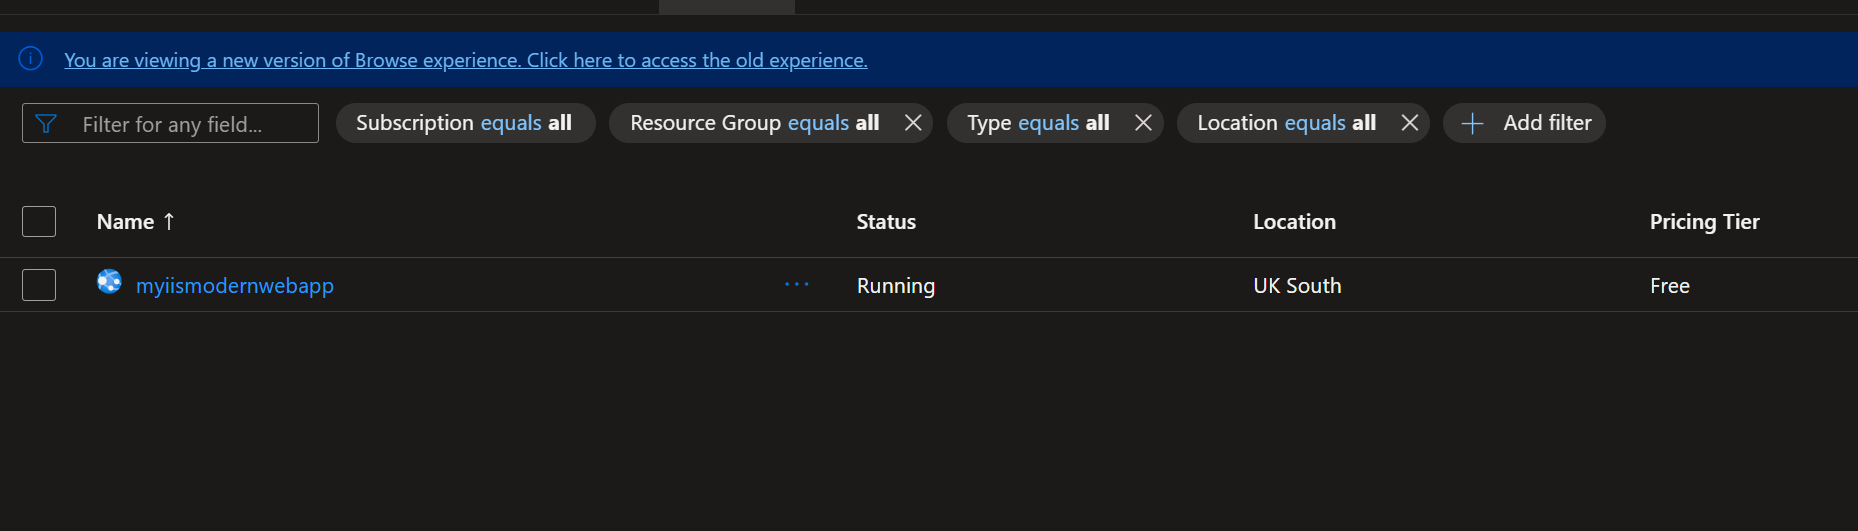
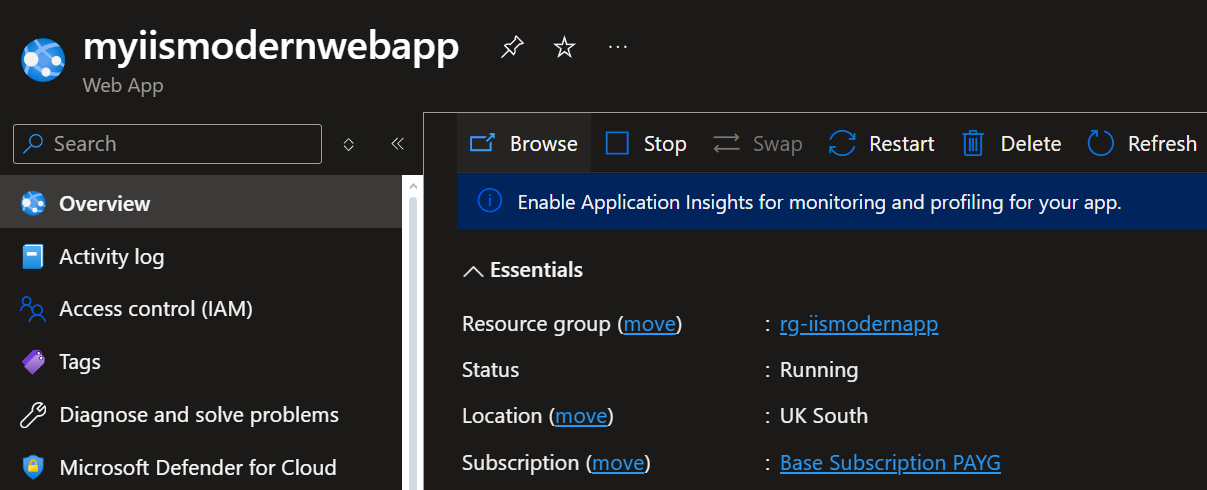
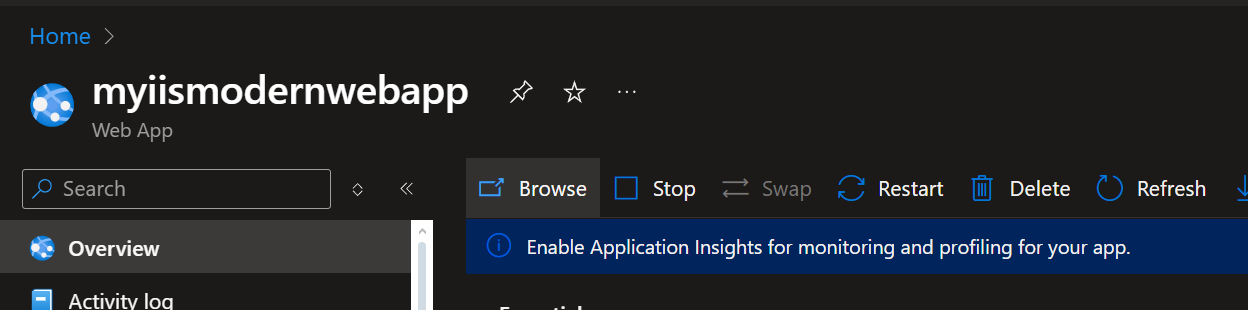
In the portal it’s visible that the Web App is now running and has deployed successfully. if you click into the web app we need to make a few changes.
The Web page itself comes with a pre configured HTML file that looks like this when you click Browse:
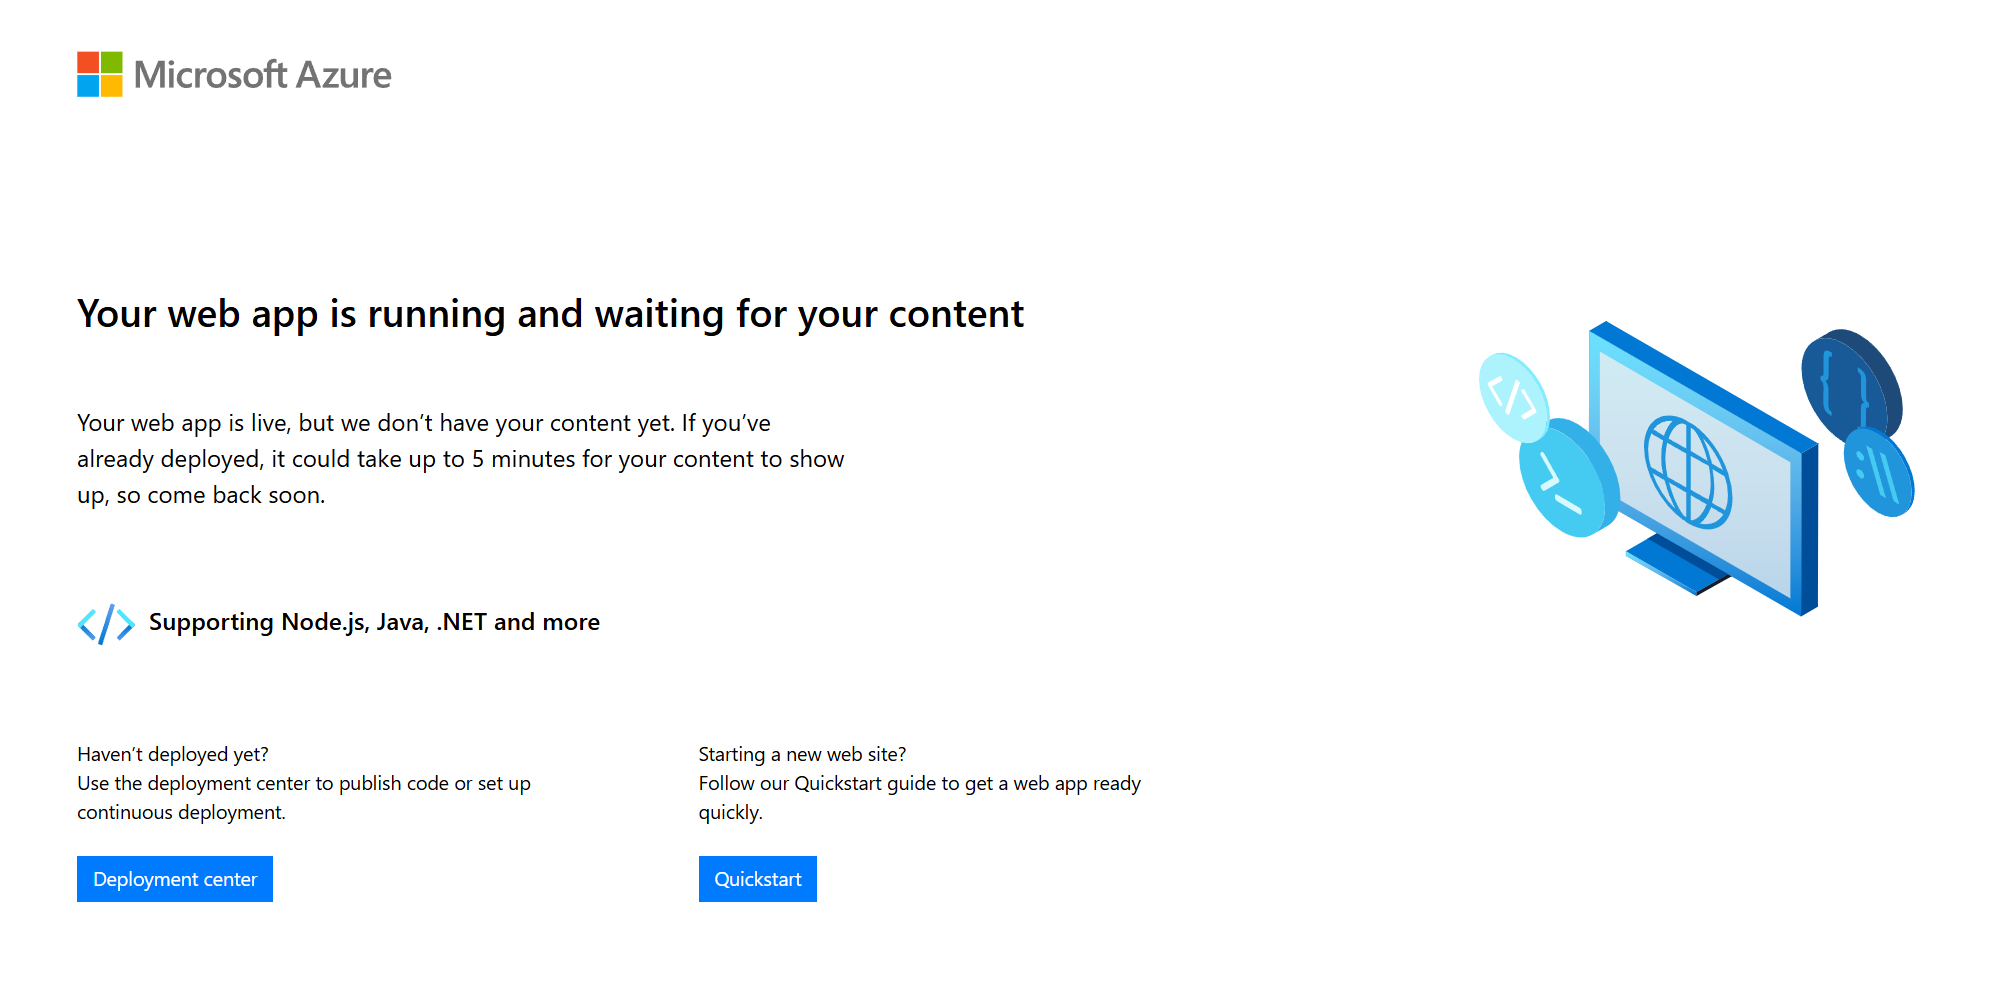
If we’re to pretend this is our corporate website, the first thing we need to do is change this. Now most organisations would have a github repo or would use some other code compiler where you would create your HTML page. Since I’m using the free version I am just going to edit the direct files of the resource. You can do this by going to Deployment Tools and clicking advance settings. Make sure you press “Go”
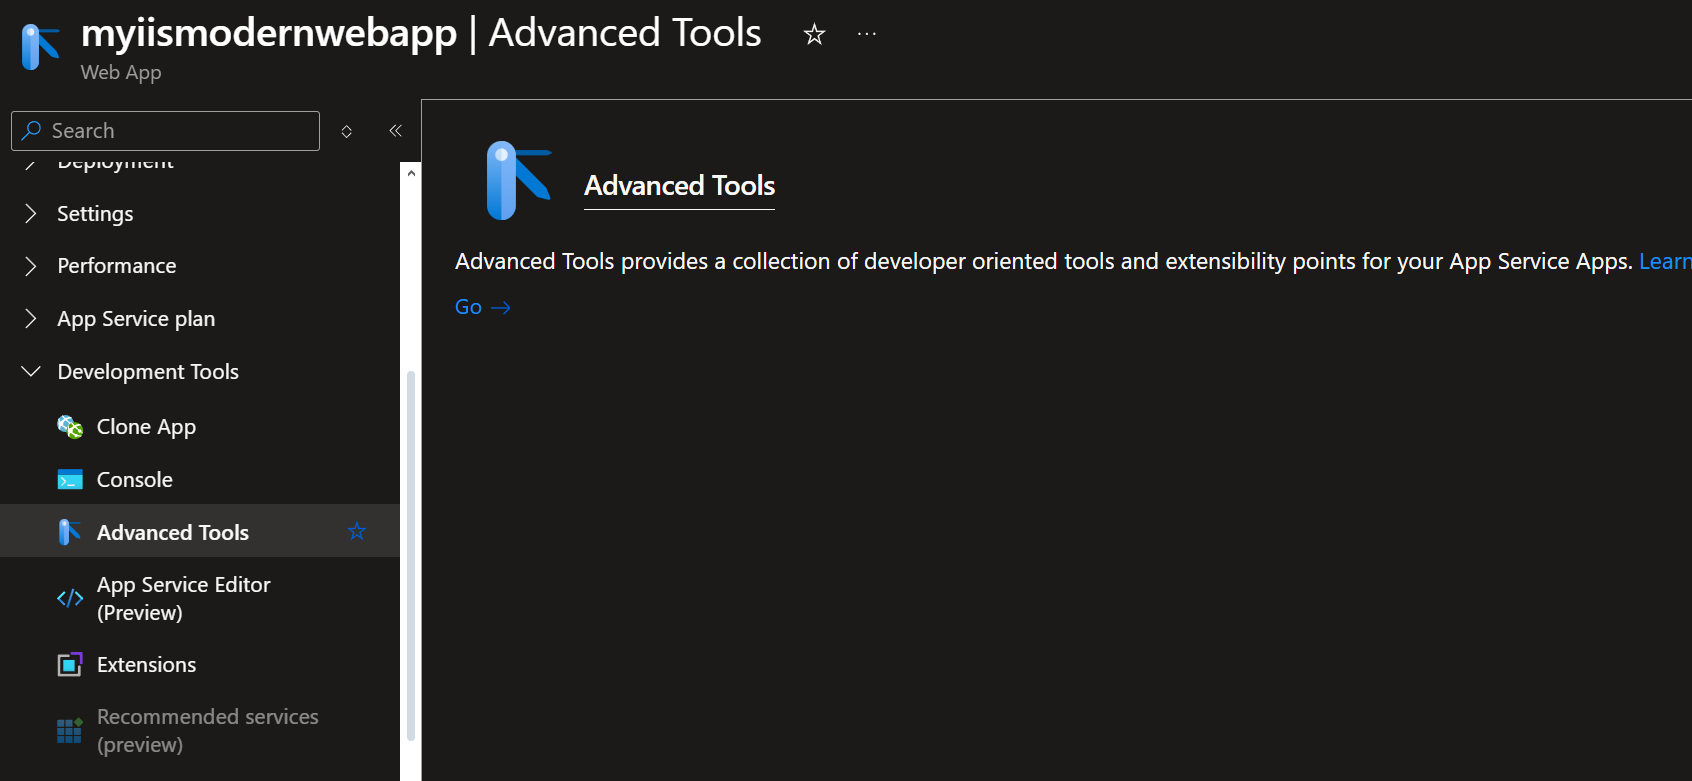
When you’re in advance settings you’re welcomed to Kudu, Kudu is in some ways the backend deployment Engine of the App Service
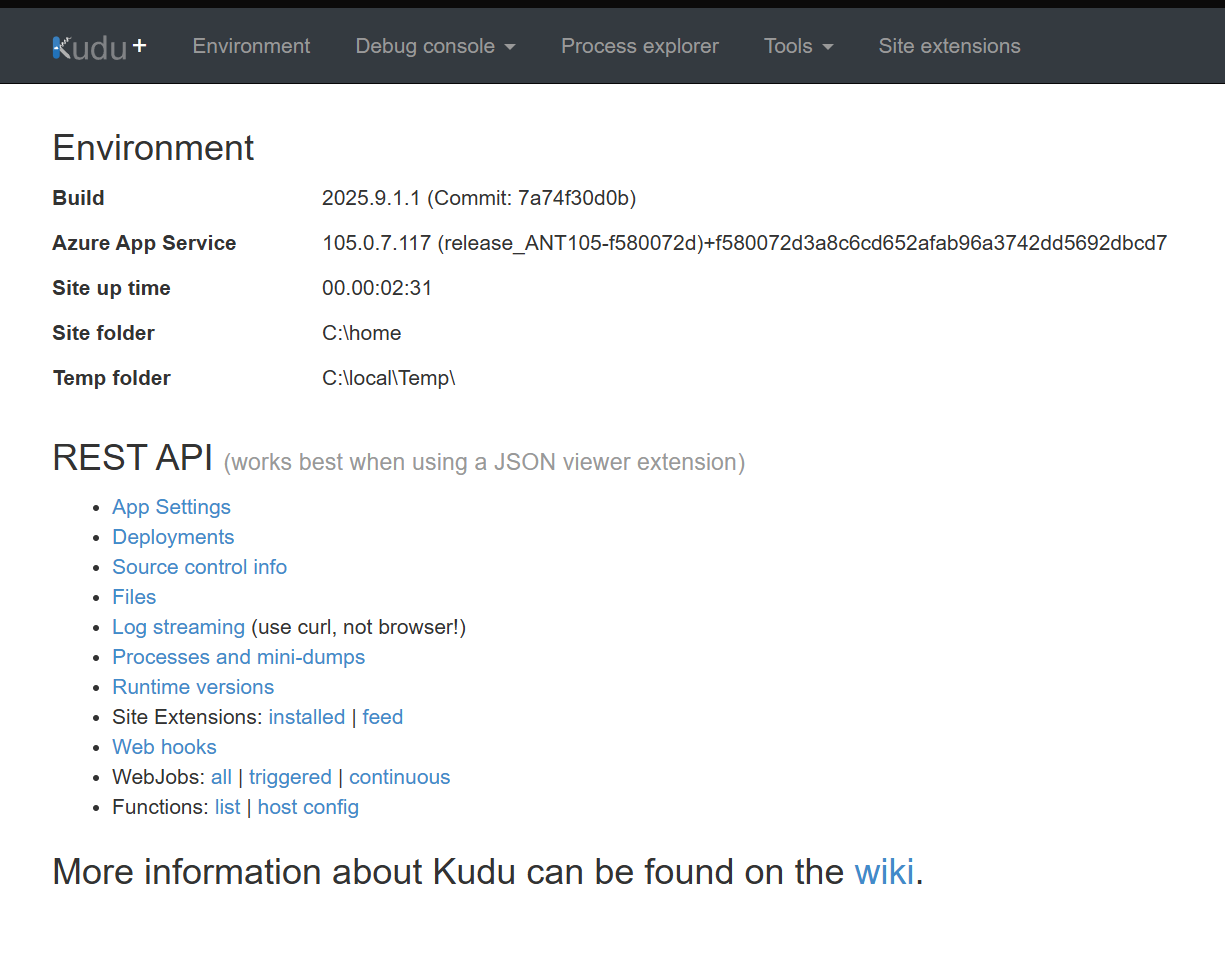
When you’re in Kudu you’re going to want to click “Debug Console” You can then Launch in CMD or PowerShell. I launched in CMD
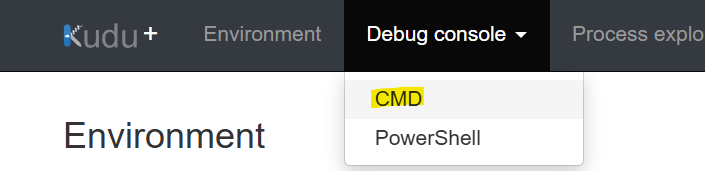
This menu will then appear when you click either command lines
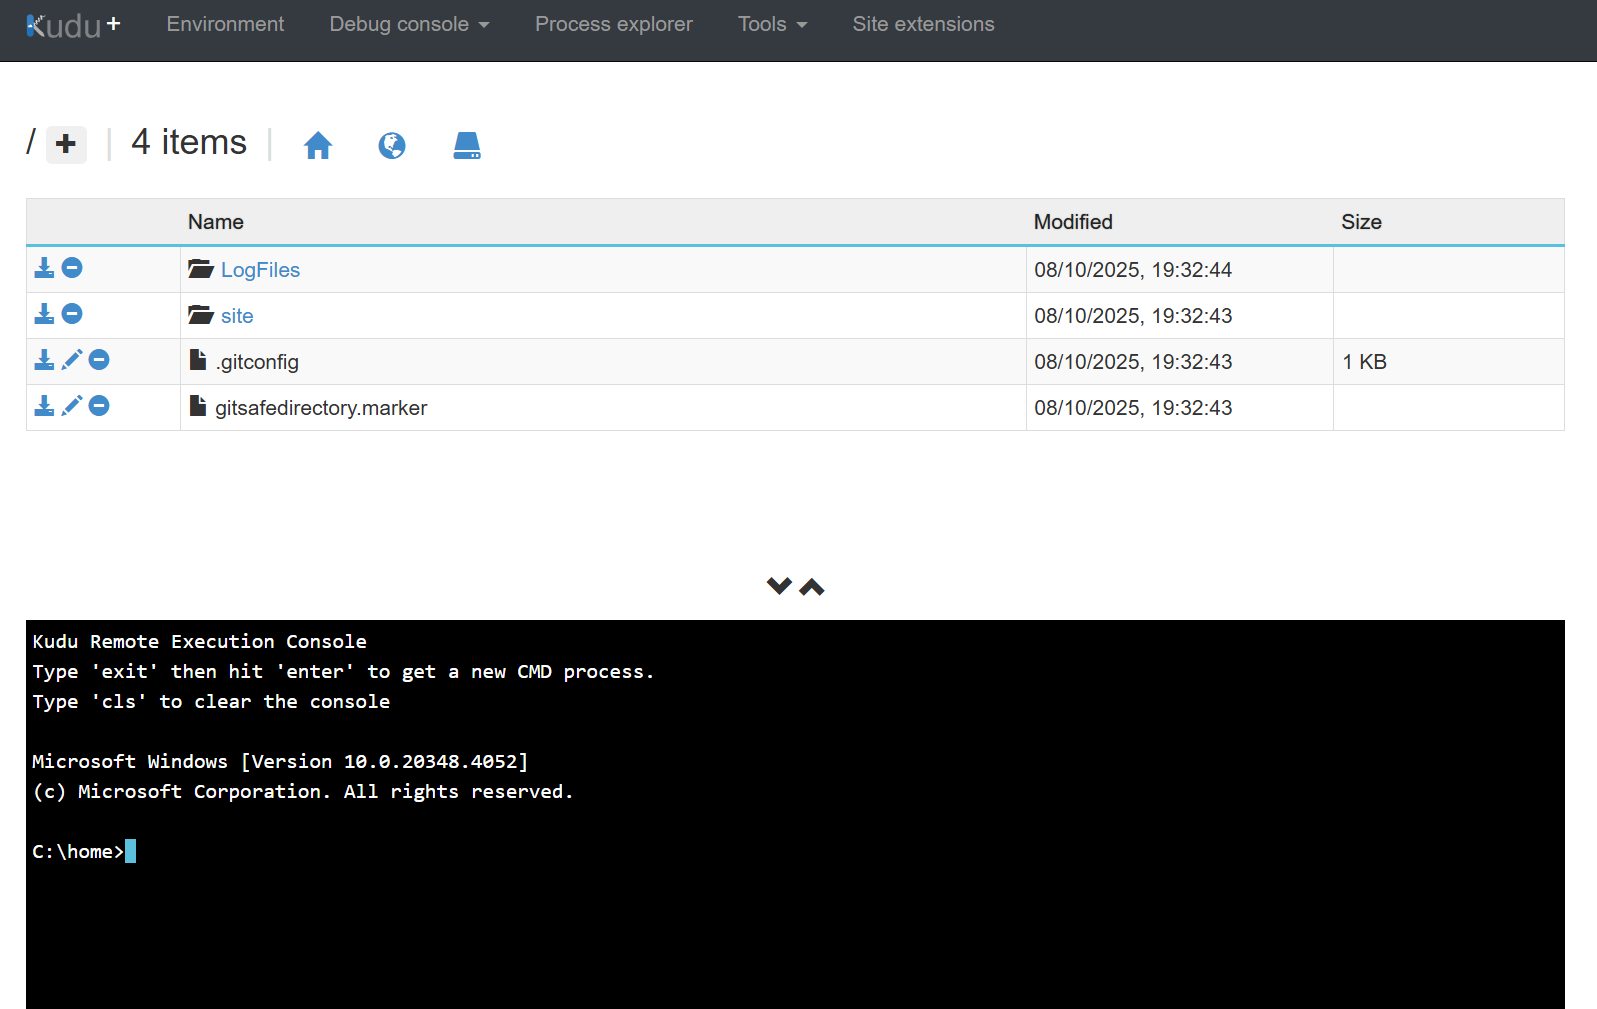
Now what you’re looking at is the Web App files under the hood but we’re looking specifically for the html web page, you could search through the directory to find this or use this command.
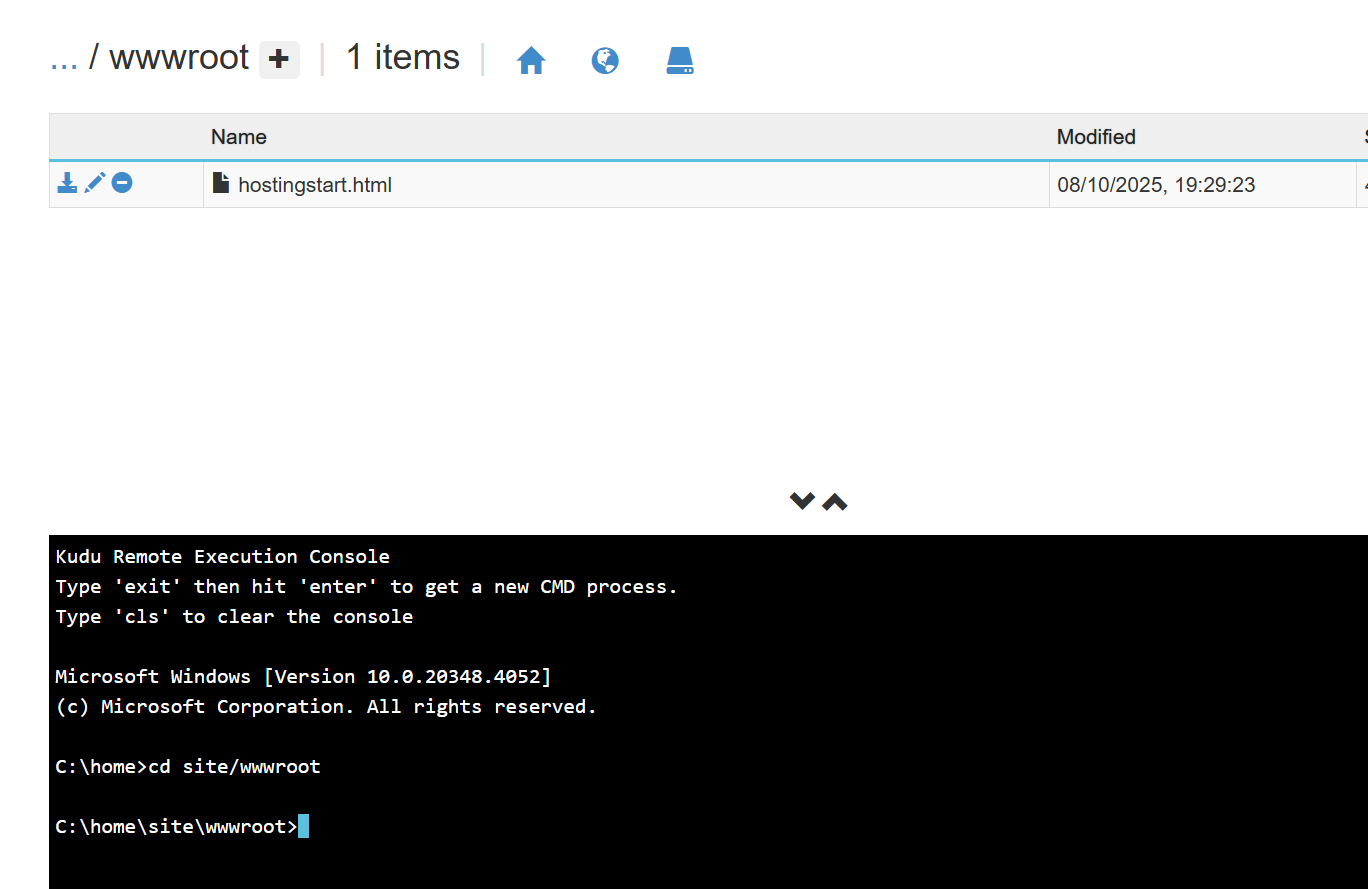
Now the file for the webpage is “hostingstart.html”
We can go ahead and press the minus button to delete it. We’re going to us our own IIS.

Press the plus button at the top of the screen next to wwwroot to create a new file.
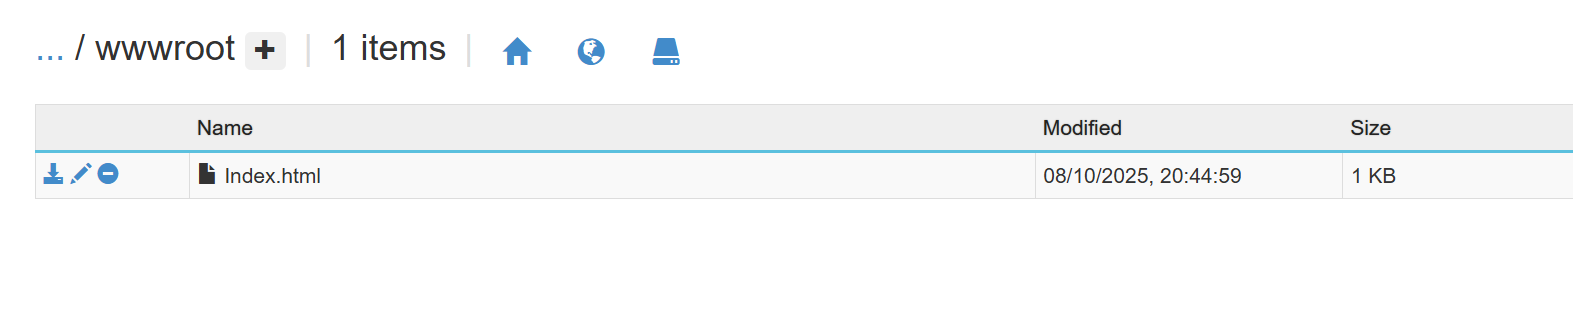
The Index.html file is a simple file – this is shown below:
Now we have edited the file it can be tested. We can exit Kudu and then Browse the page to see if it works.
Press Browse
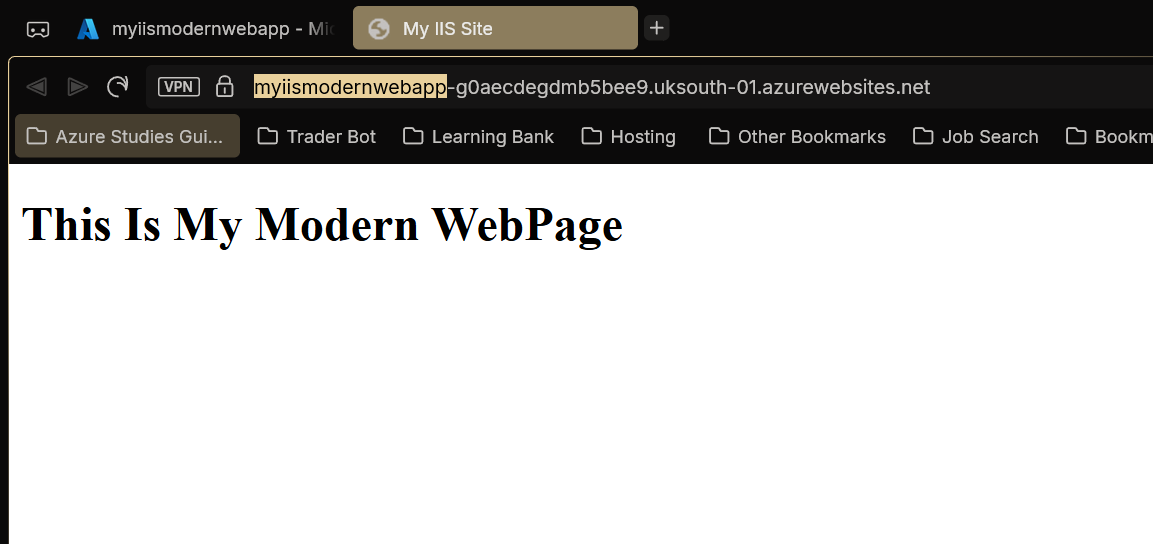
If successful your web page should load with the website name and header showing in the body of the page.
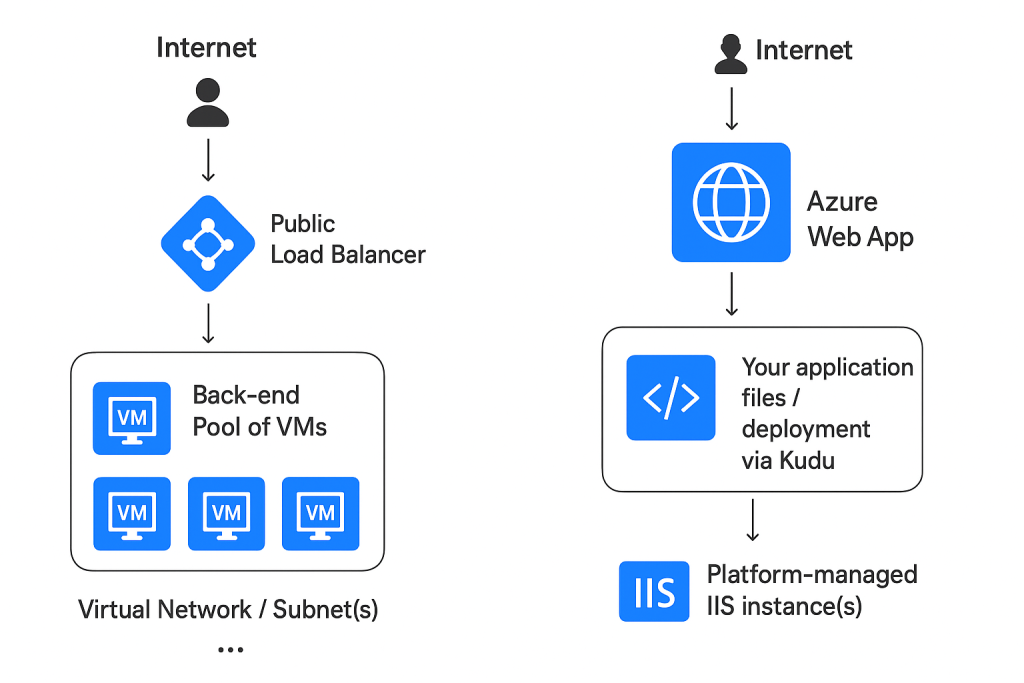
That’s it. Like mentioned above there are better ways of deploying this but due to costs this is how I have done it to show a more modern approach to the solution. This shows how fast resources can be set up in the cloud.